1. Installation
Maven
Trong demo này chúng ta sẽ sử dụng Maven để tạo và config application sử dụng SendGrid. Các dependency cần thiết trong file pom.xml như sau:
<dependencies>
    <dependency>
        <groupId>com.sendgrid</groupId>
        <artifactId>sendgrid-java</artifactId>
        <version>4.9.0</version>
    </dependency>
   <!-- ... OTHER DEPENDENCIES: lombok ... -->
</dependencies>
Account SendGrid
Chúng ta cần đăng ký 1 account free với SendGrid. Bạn sẽ không cần phải add credit card, tuy nhiên để sử dụng thì bắt buộc sẽ cần enable 2FA nên nha.API Key
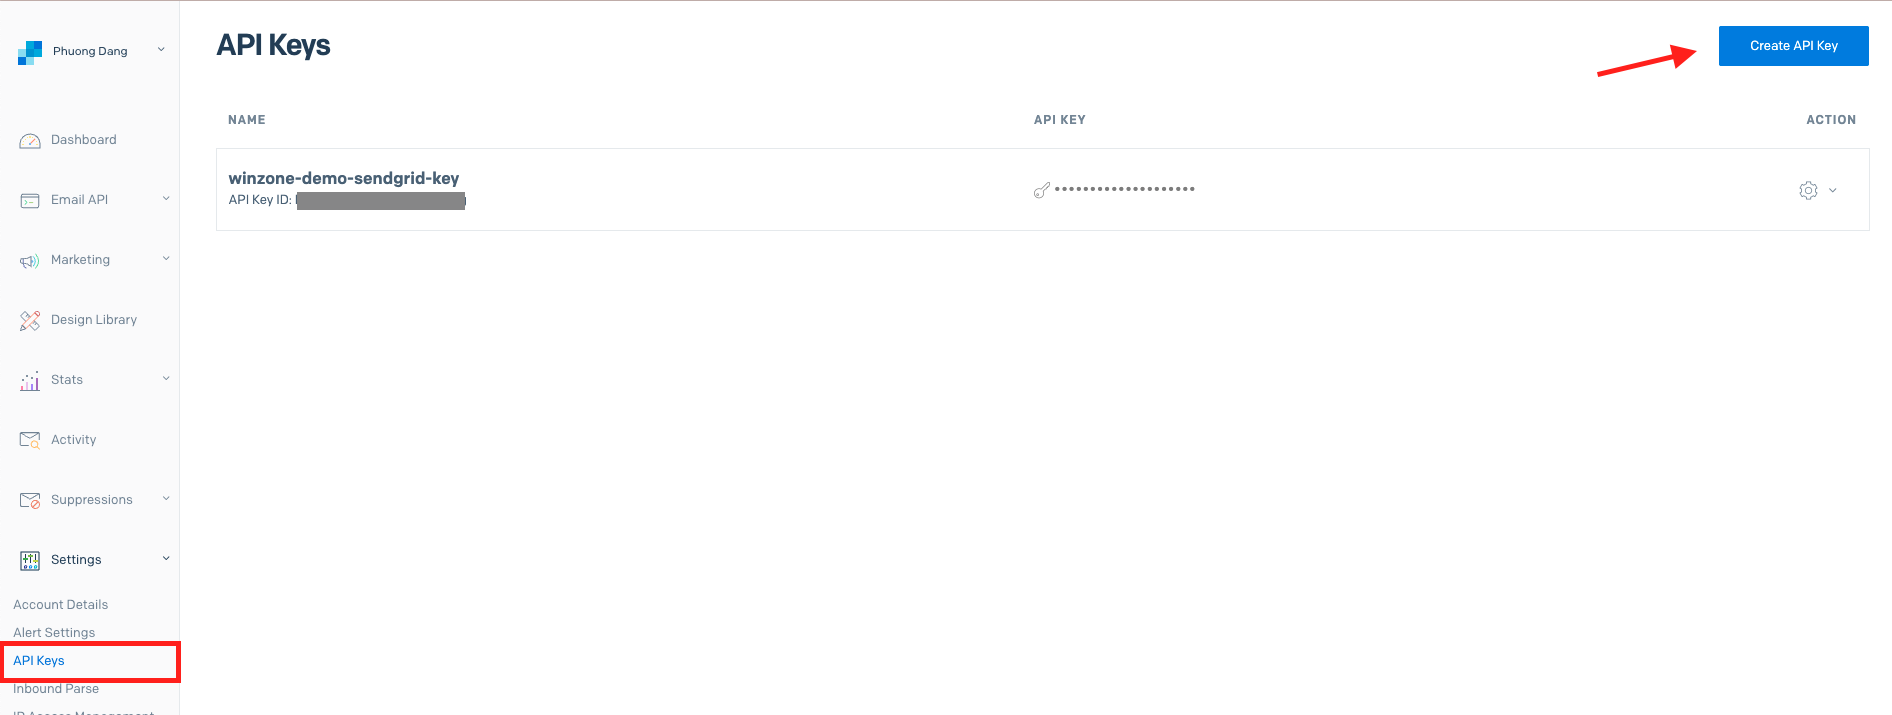
Để có thể gửi mail chúng ta cần call RESTful V3 API của SendGrid. Chính vì thế cần phải đăng ký 1 API Key và gửi kèm request header để xác thực.Sau khi login hãy vào mục Settings > API Keys > Create API Key
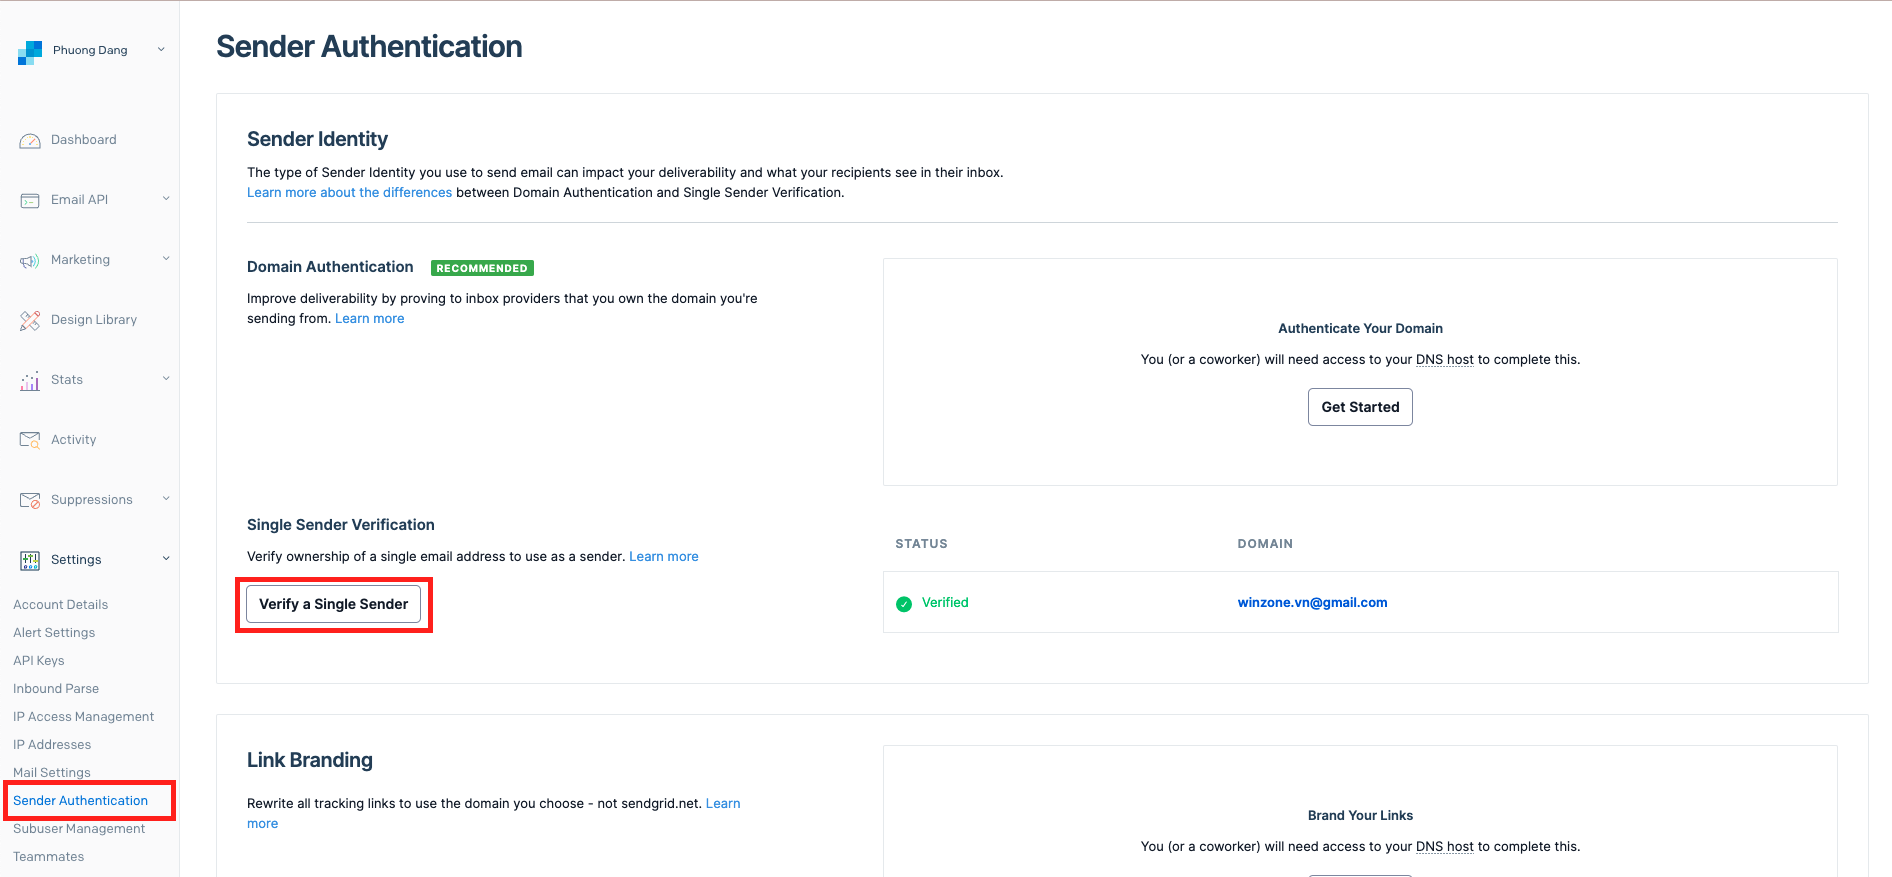
Sender Identity
Chúng ta sẽ cần định danh email đại diện gửi đi. Có 2 cách thức định danh là Domain Authentication và Single Sender Verification. Điểm khác nhau giữa 2 cách như ảnh mô tả:

Với mục đích "testing" nên trong demo này tôi sẽ dùng Single Sender Verification để định danh Sender. Hãy vào mục Settings > Sender Authentication > Verify a Single Sender và verify email của bạn
2. Usage
Chúng ta sẽ define EmailService interface và SendGridService class với mục đích prepare parameter và call RESTful v3 API của SendGrid
EmailService.java
/**
 * @author <a href="mailto:phuongdp.tech@gmail.com">PhuongDP</a>
*/
public interface EmailService {

    boolean sendEmail(EmailDto emailDto);
}
SendGridService.java
/**
 * @author <a href="mailto:phuongdp.tech@gmail.com">PhuongDP</a>
*/
public class SendGridService implements EmailService {
    private final AccountRepository accountRepository;

    // Maybe change to config properties or environment variable
    private final String SENDER_NAME = "{Please replace your sender name}";
    private final String SENDER_EMAIL = "{Please replace your sender email}";
    private final String API_KEY = "{Please replace your API_KEY}";

    /**
     * Method will call v3 API of SendGrid service
     * @param emailDto the email information
     * @return
     * true: Sent success
     * false: Sent failed
     */
    @Override
    public boolean sendEmail(EmailDto emailDto) {
        Objects.requireNonNull(emailDto.getEmailToList());

        // Setting sender information
        Email sender = new Email(SENDER_EMAIL, SENDER_NAME);

        // Setting email to, email cc, email bcc
        Personalization personalization = new Personalization();
        emailDto.getEmailToList().forEach(e -> personalization.addTo(new Email(e)));

        if (Objects.nonNull(emailDto.getEmailCcList())) {
            emailDto.getEmailCcList().forEach(e -> personalization.addCc(new Email(e)));
        }

        if (Objects.nonNull(emailDto.getEmailBccList())) {
            emailDto.getEmailBccList().forEach(e -> personalization.addBcc(new Email(e)));
        }

        // Setting content with default type HTML
        Content content = new Content("text/html", emailDto.getBody());

        Mail mail = new Mail();
        mail.setFrom(sender);
        mail.setSubject(emailDto.getSubject());
        mail.addPersonalization(personalization);
        mail.addContent(content);

        try {
            SendGrid sendGrid = new SendGrid(API_KEY);
            Request request = new Request();
            request.setMethod(Method.POST);
            request.setEndpoint("mail/send");
            request.setBody(mail.build());
            Response response = sendGrid.api(request);

            return response.getStatusCode() == 202;
        } catch (IOException exception) {
            return false;
        }
    }
}
SendGridService.sendEmail() sẽ gửi mail bằng cách call v3 API của SendGrid và nhận về kết quả là 1 đối tượng Response. Khi Response có status code = 202 tức là gửi mail thành công
| Status Code | Description |
|---|---|
| 202 | Success |
| 400 | Bad request |
| 401 | Requires authentication |
| 406 | Missing Accept header. For example: Accept: application/json |
| 429 | Too many requests/Rate limit exceeded |
| 500 | Internal server error |
Main.java (Testing)
/**
 * @author <a href="mailto:phuongdp.tech@gmail.com">PhuongDP</a>
*/
public class Main {

    public static void main(String[] args) {
        EmailService emailService = new SendGridService();
        EmailDto emailDto = EmailDto.builder()
                .subject("Winzone test send email")
                .emailToList(Collections.singletonList("phuongdp.tech@gmail.com"))
                .body("<b>Winzone send to you a welcome message</b>")
                .build();

        emailService.sendEmail(emailDto);
    }
}Trong hàm main chúng ta hard code một email test với nội dung như trên và thực hiện execute. Trong trường hợp gửi thành công chúng ta sẽ nhận được 1 email như sau:

3. Conclusion
Trong bài này chúng ta đã cùng nhau sử dụng SendGrid service để thực hiện gửi email. Chúc các bạn thành công